
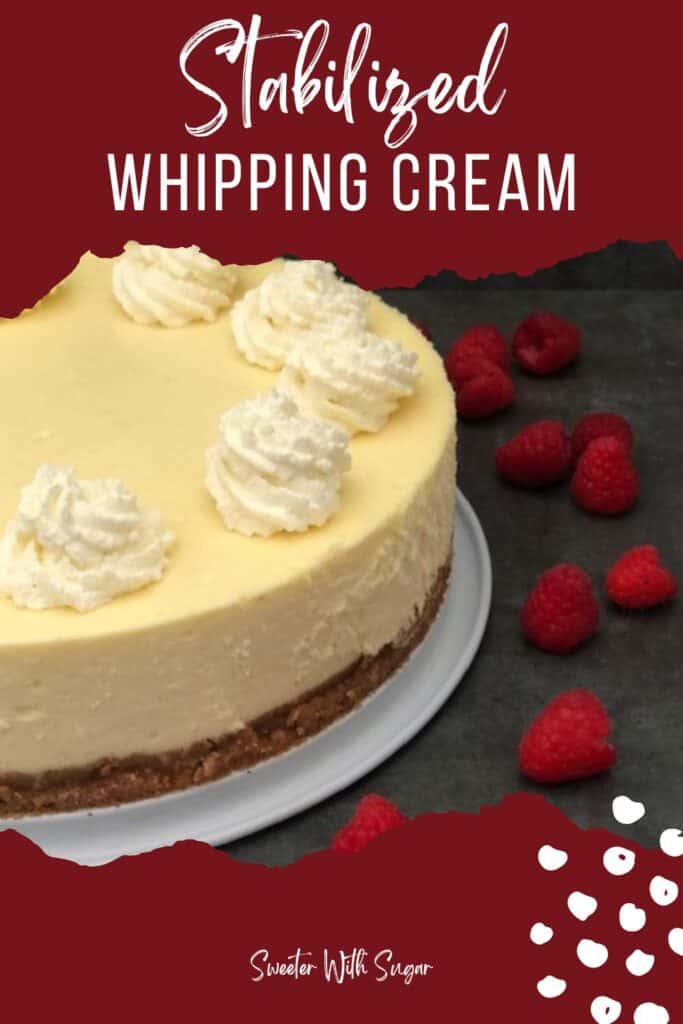
Stabilized Whipped Cream
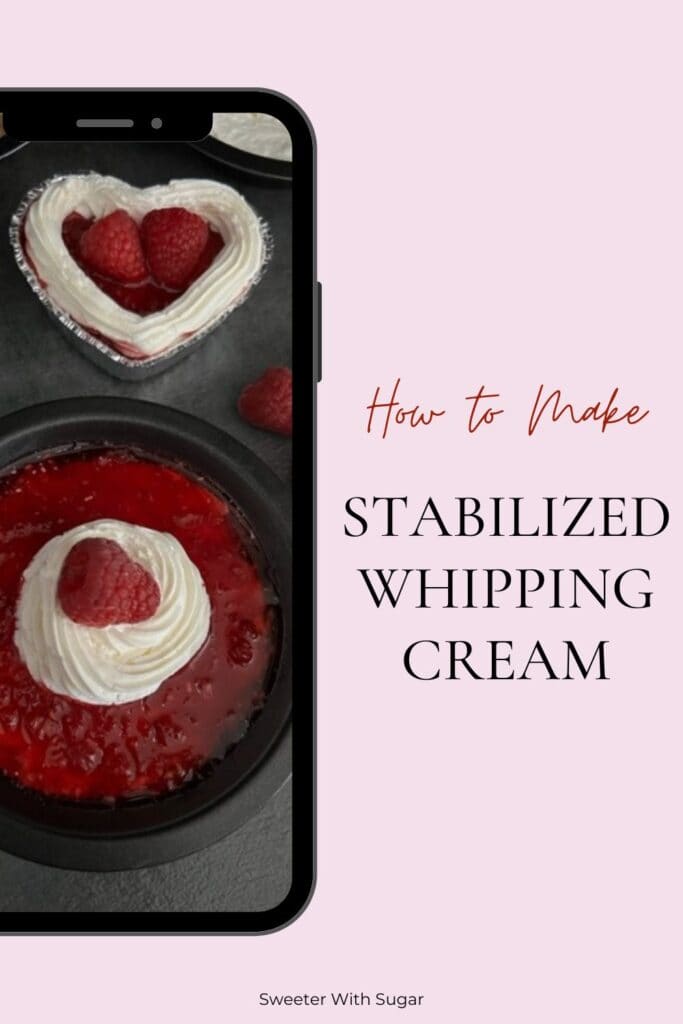
Stabilized Whipping Cream is great for so many recipes. Adding just two extra ingredients will help your homemade whipping cream hold its shape. It is great for piping.
We are so happy you are here. You will find hundreds of delicious family friendly recipes on our recipe blog. Thank you for browsing and have a great day cooking! Here are a few links to recipes we think you will enjoy: Nutty Buddy Cupcakes, Brownie Bottom Satin Pie Dessert, Super Moist Bundt Cake, Easy Alfredo, Broccoli Bacon Salad, Hasselback Bottoms, Chipotle Pasta Salad, Italian Pasta Salad and The Best Raspberry Salad.
Ingredients Needed For Stabilized Whipping Cream:
- 1 cup heavy whipping cream, cold
- 1/4 cup powdered sugar
- 1/2 tsp vanilla
- 4 tsp water, cold
- 1 tsp Knox unflavored gelatin
Instructions For Stabilized Whipping Cream:
- Place cold water into a small microwave safe bowl and sprinkle the unflavored gelatin over the top-whisk to combine. Set aside-this will turn into a solid.
- In a mixing bowl with an electric mixer, combine heavy whipping cream, powdered sugar and vanilla until soft peaks form. Set aside.
- Place the gelatin into the microwave for 5 seconds, remove and stir. Place back in for 5 more seconds, stir-gelatin will be a liquid again.
- Begin with the mixer on low, mix while you slowly pour the liquid gelatin into the whipping cream and then, increase the mixing speed to medium and mix until stiff peaks form.
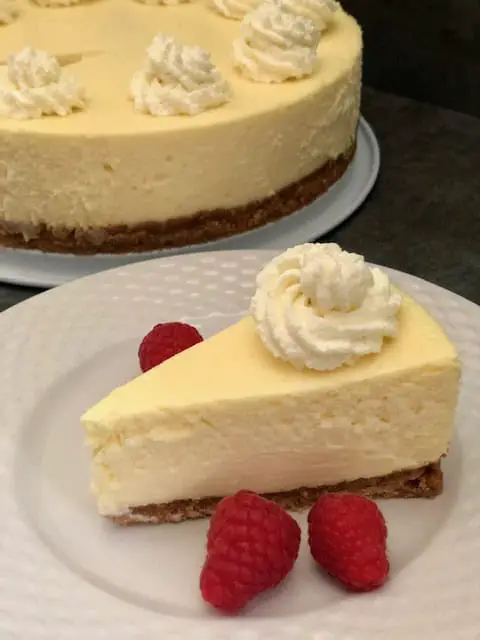
- Stir whipping and place whipping cream in a piping bag and pipe onto dessert. Enjoy!
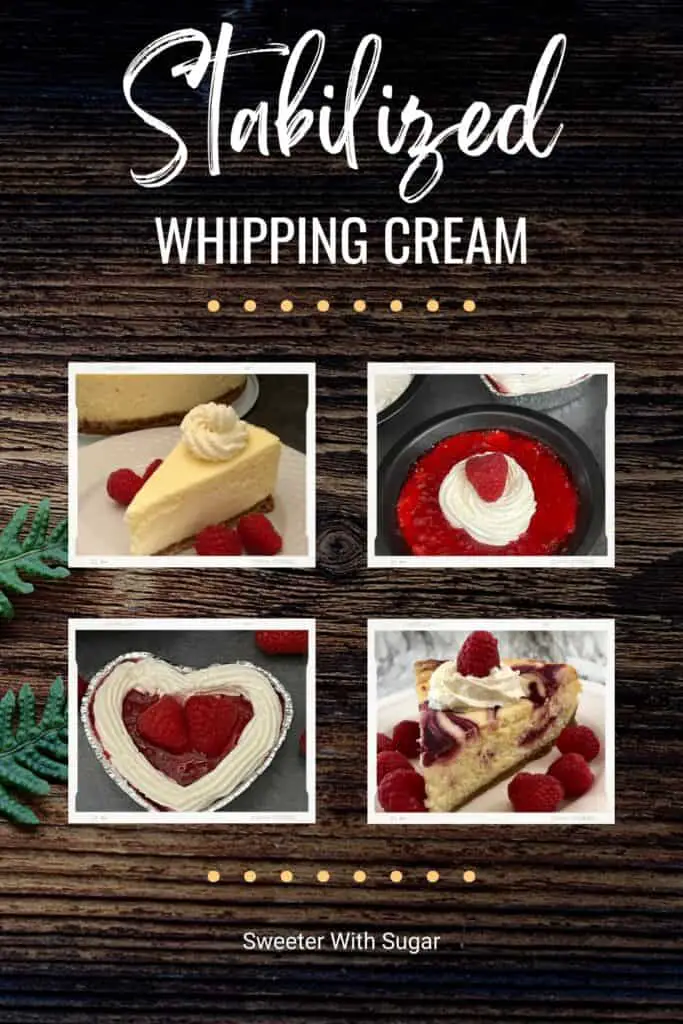
COOKS NOTES: 1-This recipe works great for all kinds of desserts! It amazes me how long it will hold its shape! 2-This takes about six minutes, with a hand mixer, to get to the soft peak stage and three more to get to stiff peak stage.
Other Recipes You Will Love: 💕
White Chocolate Raspberry Cheesecake

Stabilized Whipping Cream
An easy way to make your piped whipping cream more stable.
Ingredients
- 1 cup heavy whipping cream cold
- 1/4 cup powdered sugar
- 1/2 tsp vanilla
- 4 tsp water cold
- 1 tsp Knox unflavored gelatin
Instructions
-
Place cold water into a small microwave safe bowl and sprinkle the unflavored gelatin over the top-whisk to combine. Set aside-this will turn into a solid.
-
In a mixing bowl with an electric mixer, combine heavy whipping cream, powdered sugar and vanilla until soft peaks form. Set aside.
-
Place the gelatin into the microwave for 5 seconds, remove and stir. Place back in for 5 more seconds, stir-gelatin will be a liquid again.
-
Begin with the mixer on low, mix while you slowly pour the liquid gelatin into the whipping cream and then, increase the mixing speed to medium and mix until stiff peaks form.
-
Place whipping cream in a piping bag and pipe onto dessert. Enjoy!
-
NOTES: 1-This recipe works great for all kinds of desserts! It amazes me how long it will hold its shape! 2-This takes about six minutes, with a hand mixer, to get to the soft peak stage and three more to get to stiff peak stage.
Disclaimer:
All of the thoughts and opinions here, on our family food and recipe blog, are our own. The affiliate links (if you click on one or more) here pay us a tiny commission that will not cost you anything. The commissions help us run this web-site. We appreciate your support! Thank you so much!
We all want to thank you for visiting and trying recipes from our family recipe blog. Your support is very much appreciated. All of us are hoping that all of you are staying healthy, strong and happy. Have a fantastic day and an even better week. Have fun cooking and remember to get the kids involved where it is safe to do so. They may love it and it is a great activity for quality family time. Family and friends are the best!