
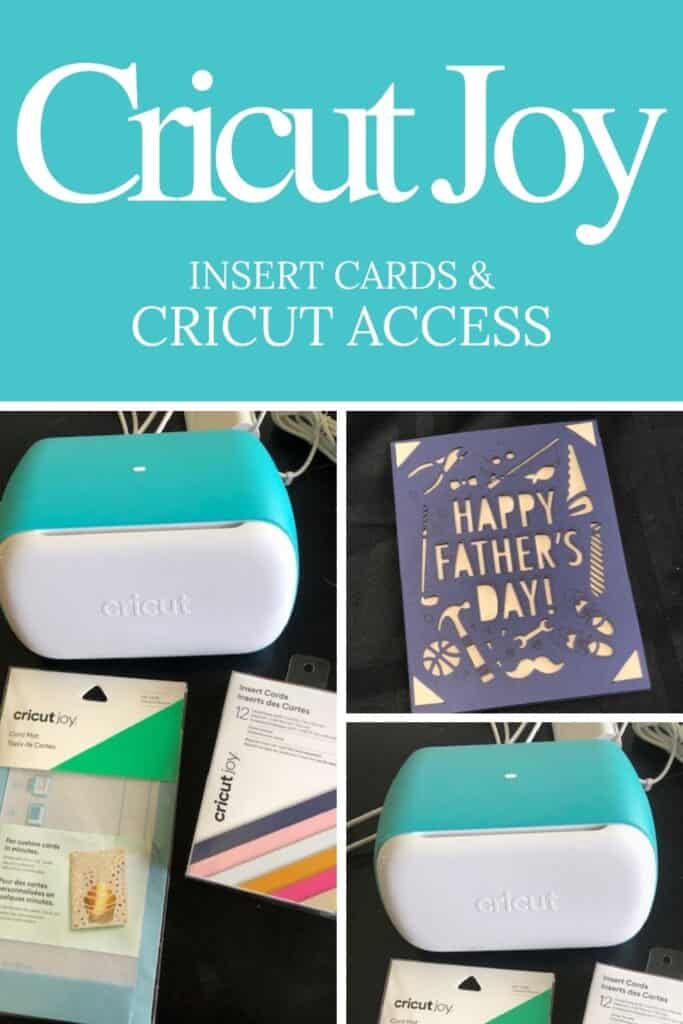
Cricut Joy and Cricut Access
Using Cricut Access with the Cricut Joy to make beautiful cards is so quick and easy. Cricut has these beautiful card stock Insert Cards packaged and ready to go. The Cricut Joy makes making cards so easy and fun. The first time you make a card, it will take a bit longer. But, the next time and next time, it will be so fast! I quickly made a Father’s Day Card this morning. It’s all ready to go for next month. 😊

Here you will find a step-by-step photo tutorial that will be easy to go back to and easy to follow. The Cricut Joy is so light weight and easy to transport when getting together to craft with friends.
Supplies You Will Need to Make Cards with the Cricut Joy:

Cricut Joy
Insert Cards
Cricut Tools
Card Mat
Fine Point Pen-0.4 Black-made for the Cricut Joy
Cutting blade made for the Cricut Joy
Cricut Access
Cricut Design Space App
Set Up:
First things first-set up your Cricut Joy. Plug it in-the small end into the back of the Cricut Joy and the plug into the outlet on the wall.
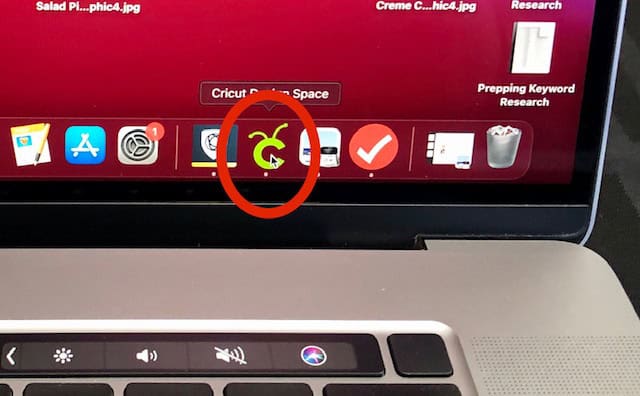
Make sure you have Cricut Design Space downloaded to your computer or your iPhone. I use a MAC.
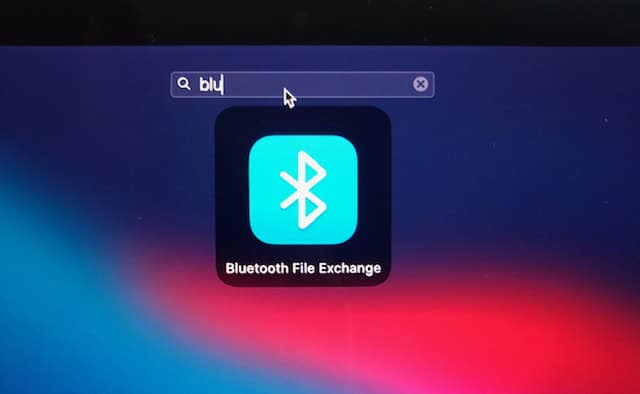
Make sure you have connected the Cricut Joy using bluetooth.
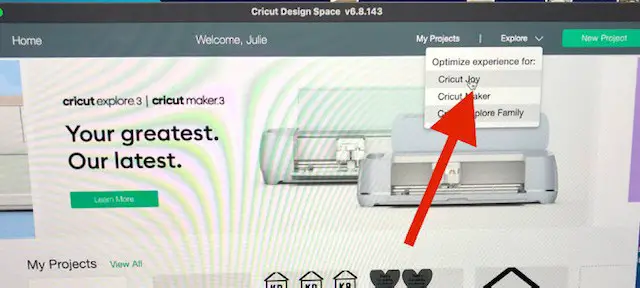
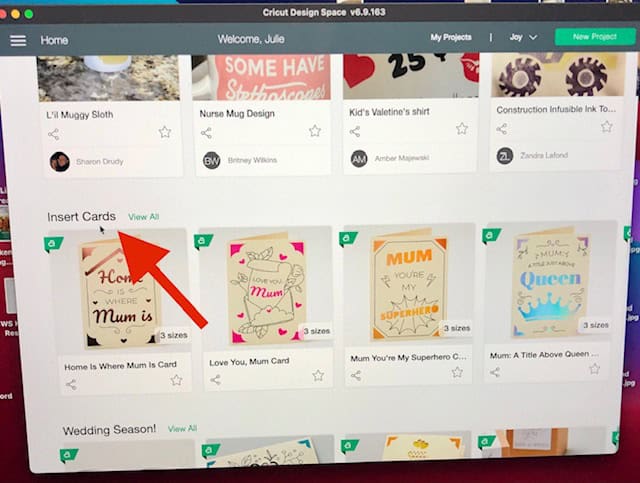
- Open Cricut Design Space, choose Cricut Joy and scroll down to Insert Cards. Choose View All.
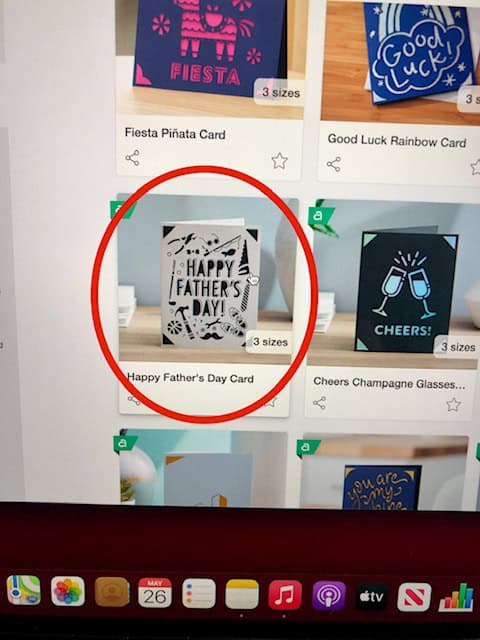
2. Choose your card. There are some free cards. However, Cricut Access allows you so many more options and it has a 30-day trial!! 😊 Test is out. See what you think.
Cricut Access:
There are three different subscriptions: a Free subscription, the Standard subscription, and the Premium subscription. The paid versions are inexpensive and offer many perks. The Premium subscription is the best value. You need to pay for it for a year. You receive, with the Premium subscription, 10% off Cricut purchases and that even includes the amazing machines, 20% off all materials, free shipping on orders over $50.00, there are over 100,000 images, over 500 fonts, thousands of projects that are ready to make, and more.
Next Steps….
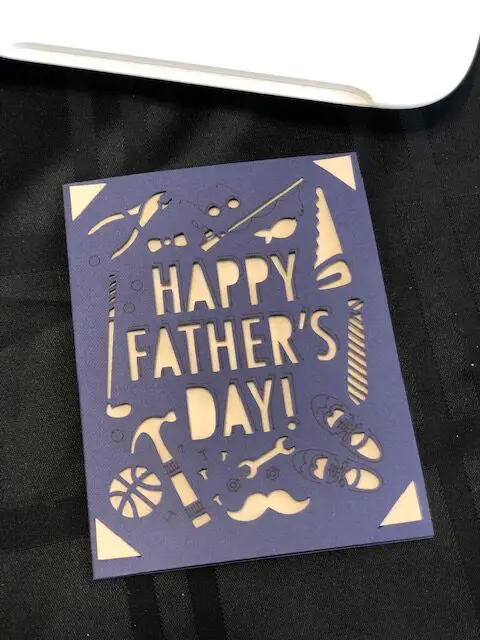
The card I chose was for Father’s Day:
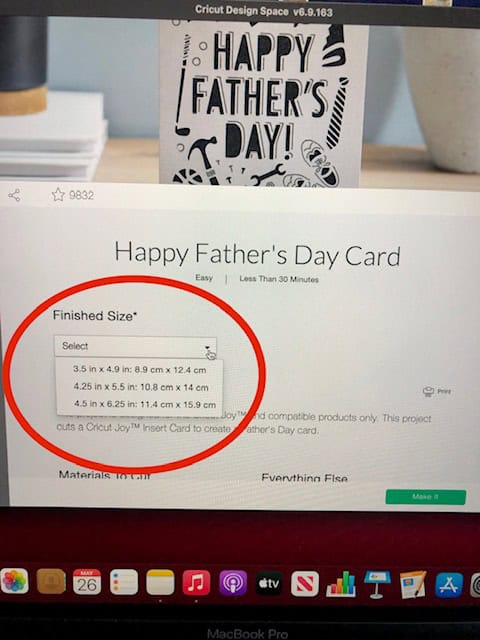
3. Choose your card size and click on MAKE IT.
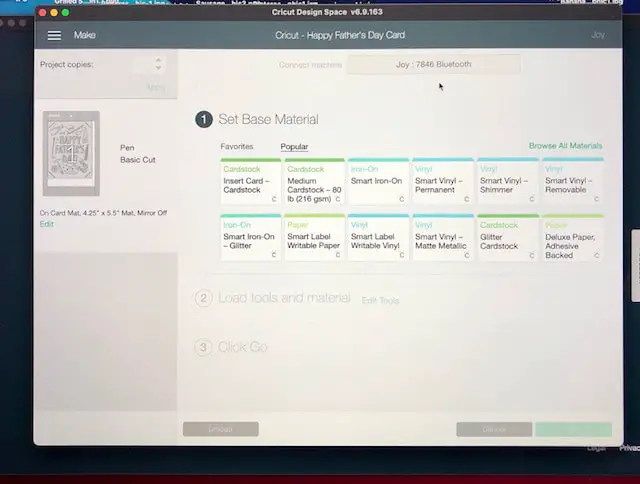
4. Choose your paper and at the bottom right-click GO.
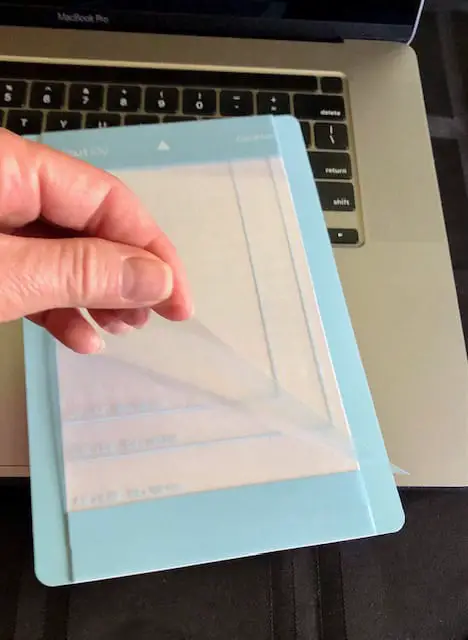
5. Remove the thin plastic film from the top of your Cricut Joy Card Mat-the part that protects the sticky part under it. Set the plastic film aside-you will want to put it back on top of your card mat when you are finished to protect the sticky part of the mat.
6. Choose the cardstock card you want to use and slide the back side of the card between the sticky top and the bottom piece. Align it as it shows-top left.
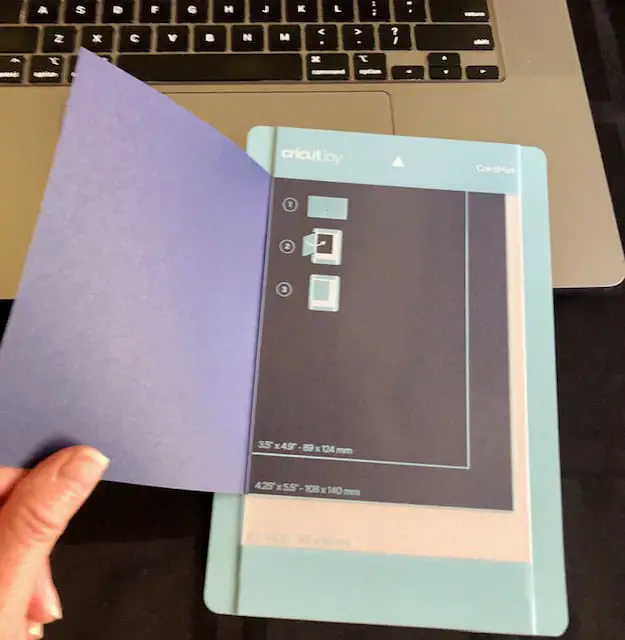
7. Close your card over the top and gently press the top side of the card down.
8. Place mat into Cricut Joy. When you have slid it far enough in, the machine with pull it in.
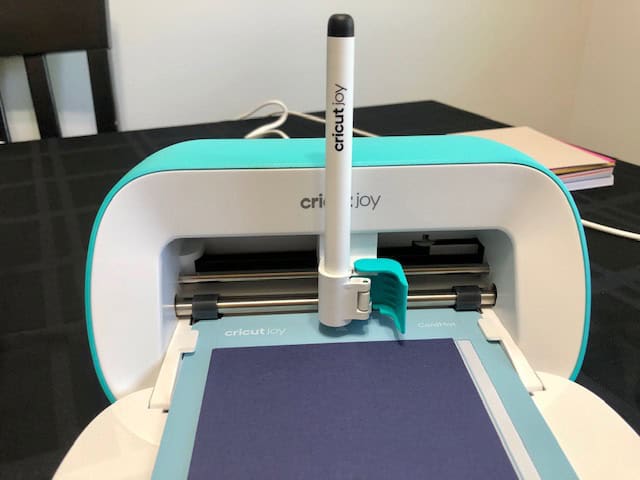
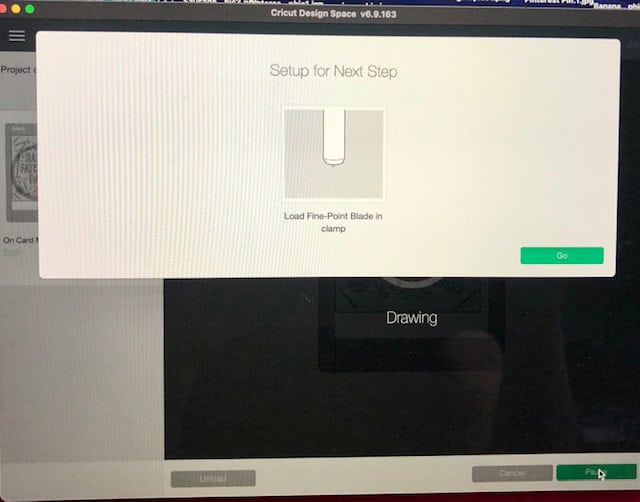
9. Follow the on-screen instructions for your card. Mine: Load the black pen as shown and close-the teal colored piece opens and closes to allow you to insert the pen or blade. Click GO. Note: the above picture shows it open-close the teal piece.
Wait while it draws……
10. Follow on screen instructions-remove black pen and place the blade inside. Close-to lock the blade in. Click GO.
Wait while it cuts……
11. When it stops, it will tell you on your computer screen to Unload-click unload.
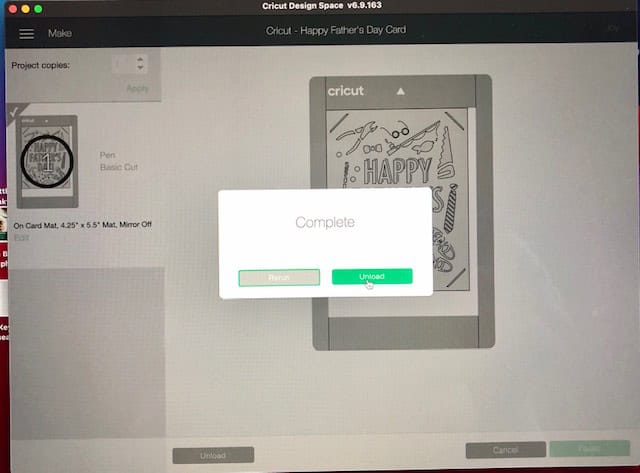
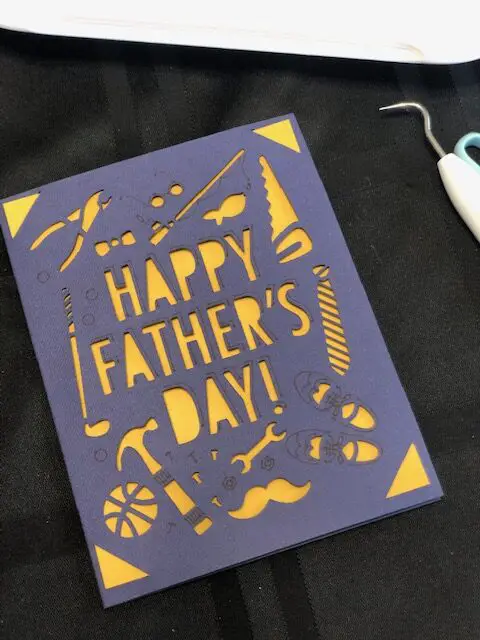
Your Finished Project:
12. Remove the mat and carefully, using your scraper tool, remove the card from the mat.
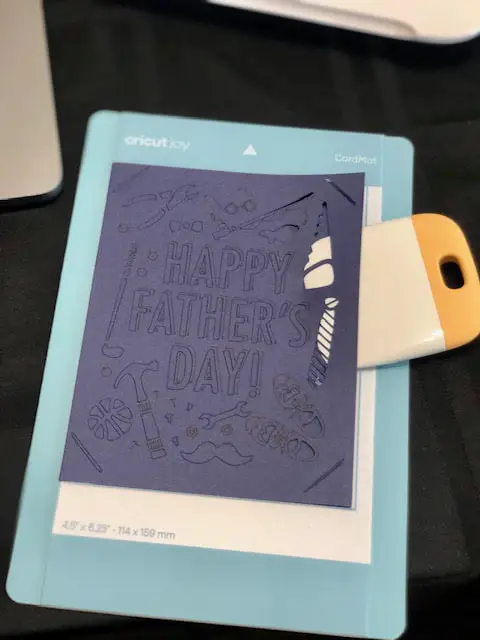
13. When you have loosened the top of the card, slide the bottom side of the card out of the mat sleeve.
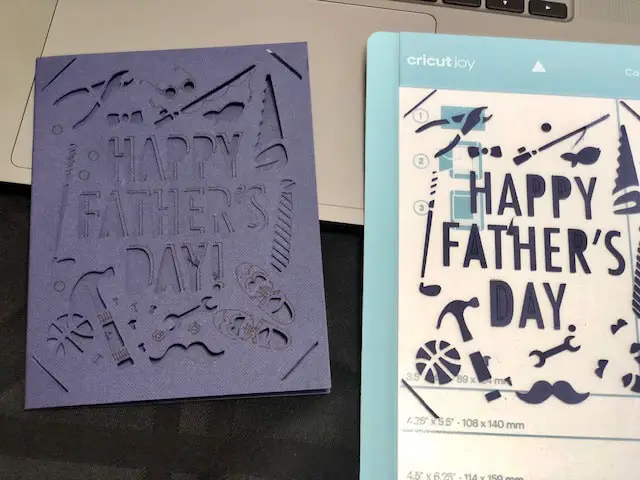
14. Make sure all of the cut pieces are brushed off the back and front of your card.
15. Choose your insert color and fit each corner of the insert into the corners of the card.
16. Your card is ready to be given! ❤️
Disclaimer:
I was compensated for this post. This post contains affiliate links and I will be compensated if you make a purchase after clicking on my links. Thank you for your support!